How to set up Conversion Tracking in GA4
To start we’ll be looking at Google Analytics 4: https://analytics.google.com/. Select the account with which you’ll be accessing. In order to modify conversions we need at least Editor level permissions on the Analytics account.
Navigate to the Gear Icon in the bottom left labeled “Admin”. This section has many options but we want to focus on 2 about halfway down the center list “Events” and “Conversions”. GA4 is “event-based” meaning that everything on the site is tracked using an event.
Under “Events” we will need to create an event, the trigger for Google to recognize. Click “Create Event” which should produce a popup menu where you can review any previously created events. This is configured using a NAME and a URL.
The NAME is case-sensitive, meaning we need to follow the same casing through the process. If we change the casing between the Event and Conversion sections, we don’t have connection and tracking. Our default formatting should be: ds_*formname
The URL should be formatted like so, using the variable URL: /thank-you-*formpurpose/
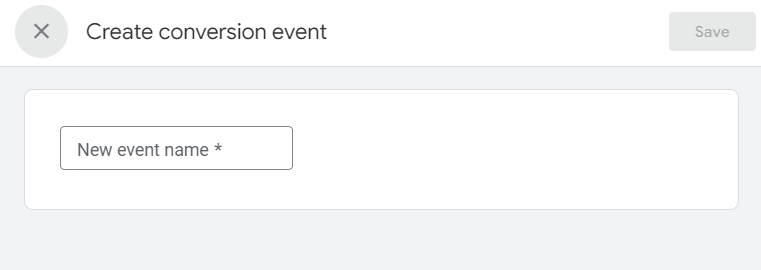
Once you have these values you can Create a new event using the blue button in the top right of the popup list.
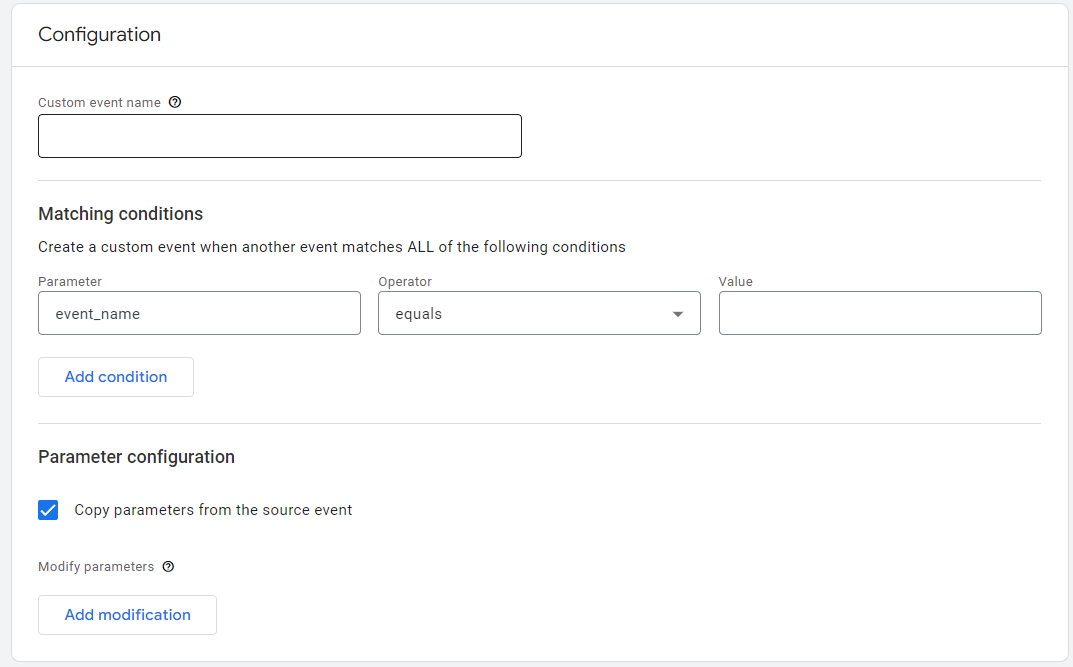
- Here you will see “Custom event name” where you will add the name. Moving down we leave the parameter as “event_name”, the value is “page_view”.
- Next we’ll add a condition which will have parameter as “page_location”, the operator should be “contains (ignore case)”, the value should be the URL as formatted above.
Once these are in place we can hit the Blue Create button in the top right again. This will have completed the Event Tracking portion of the Conversion! Nearly done.
Next we’ll move to the section below Events, Conversions. Under Conversions we’ll hit the blue “New conversion event” button and enter the exact same NAME as was created above. If there is any deviation between the 2 names, the conversions will not track.